1) Simplicity: Percolators are straightforward to use, with minimal parts and easy maintenance.
2) Versatility: They can be used on various heat sources, including stovetops, campfires, and electric burners.
3) Robust Flavor: Percolators often produce a strong and bold coffee flavor that some enthusiasts prefer.
Cons of Coffee Percolators:
1) Bitterness: Due to the nature of the percolation process, over-extraction can occur, resulting in a bitter taste.
2) Lack of Precision: Percolators provide limited control over temperature and brew time, which can affect the final taste.
3) Uniform Extraction: The extraction process in percolators is not as even as in modern devices, leading to inconsistent brews.
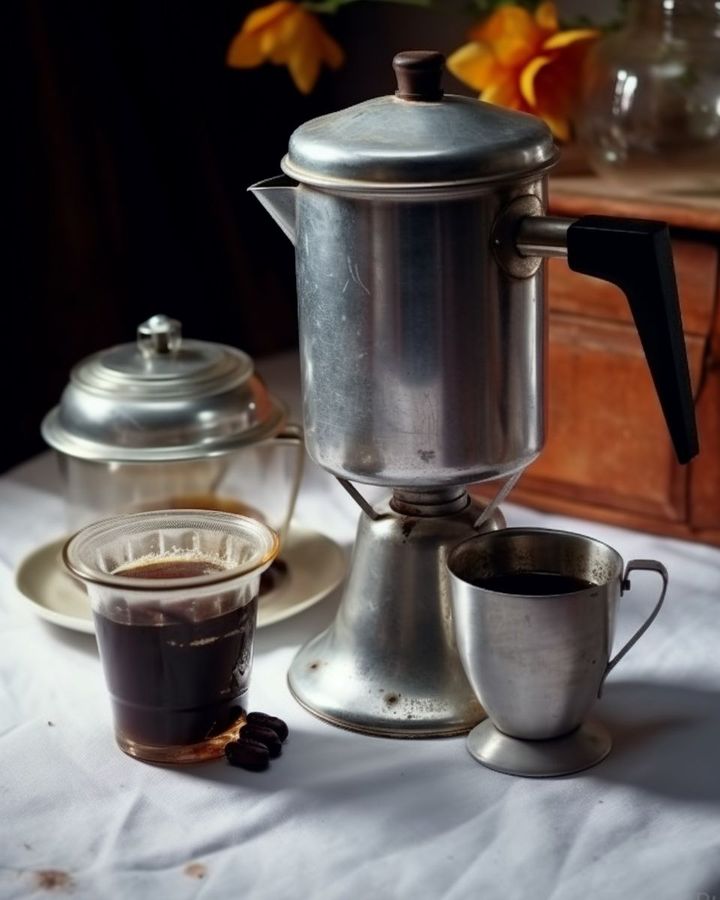
The Best Way to Make Coffee with a Coffee Percolator:
Now, let’s delve into the steps to make coffee using a coffee percolator:
1. Begin by filling the percolator pot with cold water. Use approximately 1 cup of water for every 1 tablespoon of coffee grounds.
2. Insert the central tube and place the perforated chamber on top.
3. Add the desired amount of coffee grounds into the chamber, ensuring an even distribution.
4. Close the percolator with the lid and place it on the heat source, whether it’s a stovetop or an electric burner.
5. Turn on the heat to medium-high and allow the water to reach a gentle boil. Reduce the heat slightly to maintain a steady percolation.
6. Brew the coffee for about 7-10 minutes, adjusting the heat as needed.
7. Avoid prolonged boiling to prevent over-extraction.
8. Once brewed, remove the percolator from the heat source, and let it sit for a minute to settle.
9. Slowly pour the coffee into your cup, using caution as the liquid may still be hot.
Serve and enjoy your freshly brewed coffee.