
Place a fine cheesecloth or strainer over a large bowl and pour the blended coconut mixture into it. Squeeze out as much liquid as possible to extract the coconut milk. The more liquid you extract, the more oil you’ll get later.

Repeat this process with any remaining coconut pieces, ensuring you gather every drop of coconut milk.
Step 4: Separating the Oil
Let the bowl of coconut milk sit at room temperature for 24 hours. During this time, the oil will naturally begin to separate from the liquid. You’ll notice a creamy layer forming at the top.
After 24 hours, refrigerate the mixture for a few hours to solidify the cream. Once hardened, scoop the cream out, leaving the water behind. This water can be discarded or repurposed.
Step 5: Heating the Cream to Extract the Oil
Place the hardened cream into a pan over low heat. As the cream heats up, it will melt and release the coconut oil. Stir gently, allowing the oil to fully separate from the solids. Continue cooking until all water has evaporated, and you’re left with clear coconut oil.
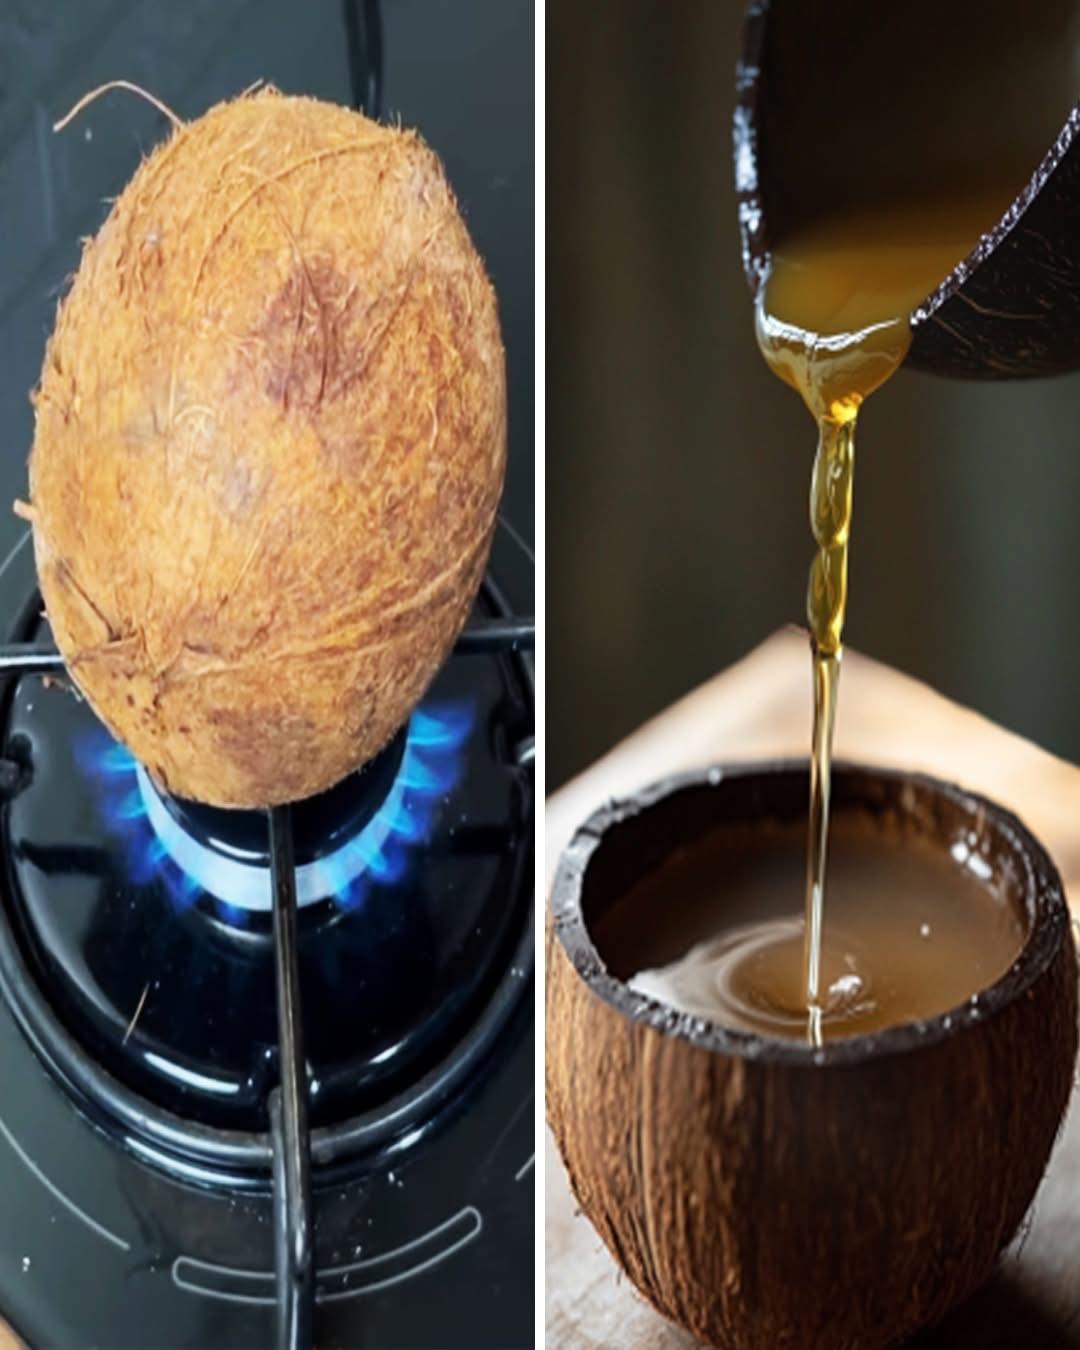
Strain the oil through a fine sieve or cheesecloth to remove any remaining solids.
Step 6: Storing the Coconut Oil
Allow the oil to cool before transferring it to an airtight container. Store the oil in a cool, dry place. Homemade coconut oil can last for months without refrigeration, but storing it in the fridge will ensure extended freshness.
Benefits of Homemade Coconut Oil
This cold-pressed extraction method ensures that your coconut oil retains its natural benefits, such as lauric acid, known for its antimicrobial properties. By making coconut oil at home, you avoid chemicals and heat processes used in commercial products, guaranteeing a pure, organic product.
